Shield for Arduino: Understanding the Use in Smart Displays

What is an Arduino Shield?
To understand what an Arduino Shield is, it is first necessary to understand that Shields are electronic boards that can be fitted on top of the Arduino, allowing its capacity to be increased.
In addition, the Arduino Shield increases its functions in a simple and reliable way, with a lean (area limited to the Arduino) and robust circuit (with everything ready for that application).
Currently, there are Shields for applications such as:
-
Temperature sensors;
-
Humidity sensors;
-
Oppression;
-
Flow;
-
Control of engines;
-
LED control;
-
Battery charger;
-
Ethernet;
-
Wifi;
-
GPS;
-
Music Player;
-
Microphone;
-
Storage in SD;
-
Cameras and displays.
How does an Arduino Shield work?
-
An Arduino Shield works from expansion connectors on Arduino boards.
-
To gain access to Arduino signals, the Shields use pins that allow them to be plugged into their connectors.
-
These circuit boards, when plugged into the Arduino and fitted on top of it, have the potential to expand its capabilities.
-
And precisely because the Arduino is an open source hardware project, there are several shields available to be connected to it.
-
By the way, it is important to know that the Arduino UNO R3 expansion connectors are the basis of current Shields projects.
Shield Types for Arduino
LCD Shield with Keyboard
This type of Arduino Shield makes it easy to create a basic operator interface, allowing for consistent assembly without multiple connections.
This is due to its 2-line, 16-character alphanumeric display (16×2 LCD) and 6 buttons.
ProtoShield
Ideal for assembling simpler projects, this Shield makes Arduino connections available directly on the tracks for small assemblies.
It also usually comes with a miniature breadboard, which can be placed on top.
Shield Grove Foundation
To connect various types of devices to the Arduino, the Grove system uses standardized cables and connectors.
Connections are basic for all types of peripherals used with Arduino: I²C, UART, Digital I/O, and analog ports.
Intermediate Level Multifunction Shield
This Arduino Shield model can be used from project assembly to learning.
That’s because with it, in just one Shield there is a wide variety of devices: buttons, potentiometer, buzzer, 7-segment display, and connectors for various tools.
Motor Shield L293D
In this Arduino Shield you will find an H-Bridge Driver to drive motors, using the L293D chips.
Its switching capacity ranges from 6V and 600mA, allowing up to four DC Motors, 2 Stepper Motors or 2 Servos to be controlled.
Ethernet Shield W5100
For IoT (Internet of Things) applications, this Shield is the most suitable, because with it you can connect the Arduino exactly to a switch or router.
Connecting the Arduino to a local Ethernet network is also allowed with its use.
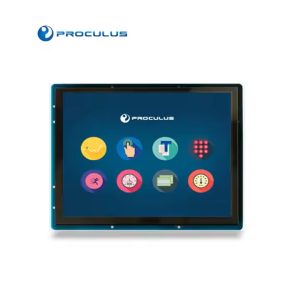
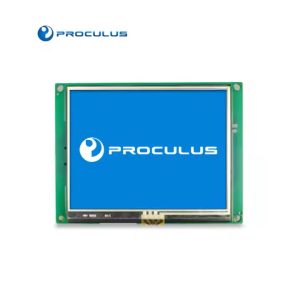
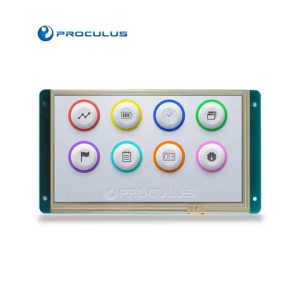
Arduino Shield for Proculus TFT Touch Display
When developing benchtop circuits, many share the same experience of wires flying out of a breadboard, connection problems, interference, and worst of all: nothing working as it should.
To make fast connections, it is normal to use wires, however, in sensitive circuits and for data communication, failures can be avoided by using robust connections.
The physical connection of Proculus uart tft lcd displays with Touch to the Arduino can be done with a Shield called PAB_03.
PAB_03 is an Arduino Shield specially designed to easily connect Proculus china custom lcd displays to an Arduino board.

PAB_03 board features
Power by Arduino board or external source;
3 output connector configurations available;
Compatible with TTL/CMOS and RS232 Displays;
Exposes all Arduino pins.
On the power side, smaller displays can be powered without the need for an external source, and the power comes directly from the Arduino board. The power supply can be external, as there are models that are not compatible with either the voltage or the current that the Arduino board can offer.
There are display models that work with a nominal voltage of 12V and other larger displays, which can draw from 700 mA of current. As an alternative, PAB_03 has a connector for an external source.
As the output connector of the PAB_03 Shield for the display, through which the power and communication passes to the display, there are three options exposed on the Shield PCB.

Example of FLAT cable and RIBBON cable
The communication between the Arduino and the display is UART serial communication, but the physical protocol can be either TTL/CMOS (usually at 5V) or RS232.
To choose between the physical protocols, there are two configuration jumpers on the Shield, with the correct marking of the connection engraved on the Shield’s silk.
See these two demos working with Arduino and the shield for the Proculus display:
The demos can be found at the links:
DOWNLOAD DEMO – ENGINE
DOWNLOAD DEMO – LUNG FAN
Conclusion
With this article, we explain a little more about the Shield for Arduino, so that you have no doubts when choosing one of them for your projects.
We present how it works, which occurs through the expansion connectors of Arduino boards, and also five types of Shield for you to use.
Also, you got to know everything about the Arduino Shield for TFT Touch Proculus Display, which can be done with a Shield called PAB_03.
Good use!

 English


