Industrial Display Devices: Common Malfunctions and Solutions
Introduction
Industrial display devices play a vital role in modern manufacturing and control systems. They are often required to operate for long periods of time and are exposed to harsh operating environments, so stability is particularly important.
In some cases, malfunctions may occur but can be quickly resolved by manual intervention. The aim of this article is to present some common industrial TFT display equipment faults and their solutions to help maintenance personnel quickly diagnose and fix the problem.
1.Display Abnormalities
*Blurred display or distorted colors
Cause: This is usually caused by aging or quality problems of the display.
Solution: Adjust the display settings such as brightness, contrast and color temperature. If the problem persists, the display may need to be replaced.
*Flickering or horizontal bars on the screen
Cause: Flickering screen is usually caused by unstable power supply or internal circuitry problem of the monitor.
Solution: Check and make sure the power cord is securely connected. If the problem persists, consider servicing or replacing the power module.
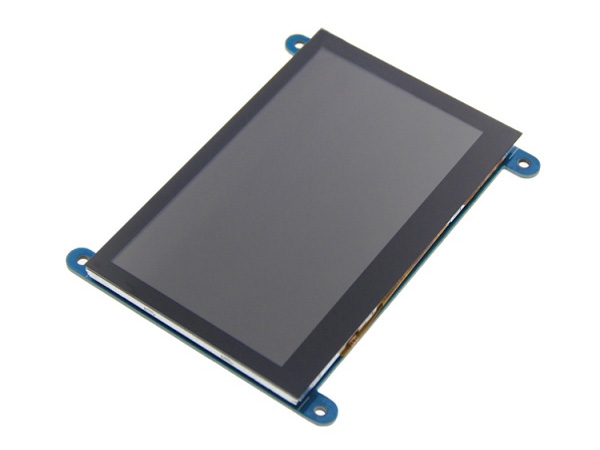
2.Touch Function Failure
Confirmation of malfunction
1. The touch function fails completely.
2. Touch point is shifted or drifted.
3. No response from a specific area of the screen.
Initial Inspection
*Physical damage: Check the touch screen for visible physical damage.
*Connection Problems: Check if the pins and Flexible Printed Circuit (FPC) connecting to the touch screen are broken or detached.
Treatment for different types of touch screen
1. Resistive Screen.
If the touch positioning is inaccurate, first try to use a special calibration tool to calibrate, and then reconfirm whether the touch function is back to normal.
2. Capacitive screen: If there is a touch offset problem, first try to use a special calibration tool to calibrate.
If the touch offset problem occurs, first confirm whether the device is set to dual-display mode. If it is enabled, try to turn off the dual-display mode and check whether the touch function is restored.
If the touch point appears to drift, first try to ground to discharge static electricity (ESD). Then check if there is any object on the screen surface to absorb static electricity, which may cause inaccurate touch positioning.
3.LVDS display abnormality
Confirm the fault phenomenon
1. No display on LVDS interface.
2. Water ripples appear on the LVDS display.
3.LVDS display color is abnormal.
Diagnostic process
1. Check other display interfaces.
Verify if only the LVDS interface is having problems. Try to use other interfaces such as VGA, HDMI or DP, if these interfaces also have no display, first confirm whether the motherboard is normally powered on.
2. Resolution Settings.
If other interfaces such as HDMI can display normally, check whether the LVDS resolution in the BIOS settings matches the display.
3. Backlight Check.
Check whether the LCD screen module has a backlight. If there is no backlight, check whether the backlight cable is loose. If the backlight is normal, then the next check.
4. LVDS Cable Check.
Verify that the LVDS cables are not loose or have broken wires. Make sure all connections are secure and reliable.
5. Confirm with supplier.
If none of the above steps solves the problem, contact the supplier to confirm whether you need to burn the EDID (Extended Display Identification Data) related dimensional information.
4.Bad audio device
Confirm the malfunction phenomenon
1. The device cannot play audio.
2. Headphone input and output are abnormal.
Diagnostic process
1. Check Device Manager.
First check if the audio device is recognized in the device manager. If no audio hardware is recognized, this may indicate a hardware problem. In this case, it is recommended to return the device to the vendor for processing.
2. Check the device driver.
Verify that the driver for the audio device has been properly installed and updated to the latest version.
3. Check Default Output Device.
If an HDMI or DP monitor is connected, check if the system’s default audio output is switched to these interfaces. When HDMI or DP interfaces are accessed, the system sometimes automatically switches the audio output to these devices, resulting in no sound from the built-in speakers or other audio output devices.
4. Headphone Input/Output Check.
When headphones are plugged in, verify that the correct input and output devices are selected in the audio settings. Sometimes the system may not have automatically switched to headphones, and you need to set it manually.
5.Serial port abnormality
Confirm the malfunction phenomenon
1. The serial port cannot communicate.
2. Communication transmission appears garbled.
3. Cannot control the communication device connected through the serial port.
Diagnostic process
1. Check the serial port mode.
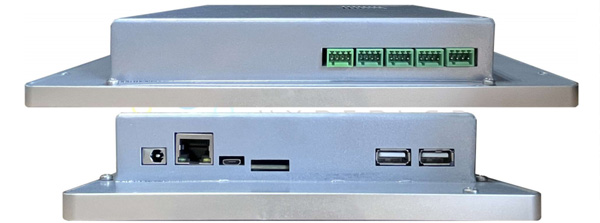
Confirm whether the serial port mode is correctly set in the BIOS setup. Common modes include RS232, RS485 and so on.
2. Check the serial port Pin definition.
Confirm whether the pin definition of serial port is correct, and whether the definition of external wires meets the standard.
3. Serial communication test.
For RS232, try to short TX and RX pins, and use serial debugging tool to test whether the communication is normal.
For RS485, use two RS485 devices to conduct a pair of transmission test to confirm whether the communication is normal.
4. Check the communication parameter settings.
Confirm that the serial communication parameters on the machine side, such as baud rate, parity bit, data bit and stop bit, are consistent with the communication device.
6.Network abnormality
Confirm the fault phenomenon
1. The network connection is unstable or cannot be connected.
2. Communication problems within the LAN.
3. Network speed does not meet the expected value.
Diagnostic process
1. Check the physical connection.
Confirm whether the network cable connection is solid, and whether the pop-up pins inside the network interface are normal.
2. Check IP configuration.
Check if the network IP address is set to fixed, and make sure the fixed IP address is within the actual LAN IP range.
3. Test network connectivity.
Use CMD to execute the ping command to test whether you can ping the gateway IP in the LAN, and also check whether the network light status is normal, and whether the network connection is disabled.
4. Check device drivers.
Check whether the network device driver is installed correctly and in normal working condition in Device Manager.
5. Check Network Speed Configuration.
If the Gigabit network port only shows 100Mbps speed, first check if the network cable you are using supports Gigabit network. Also check if the LAN device supports Gigabit speed, and confirm if there is a manual limit in the driver configuration to 100MB.
Conclusion
The above steps can help users diagnose and solve some common problems. If the problem is still not resolved after these steps, further technical support may be required or replacement of the relevant hardware may be considered.
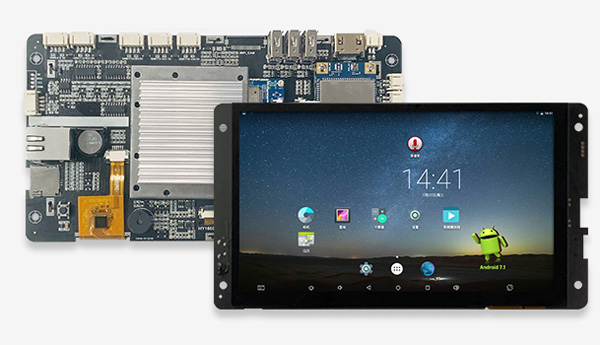
PROCULUS is committed to providing stable and reliable display devices for intelligent industries. Please feel free to contact us if you have any related needs. May we help your application.

 English
