General Reference
Complex
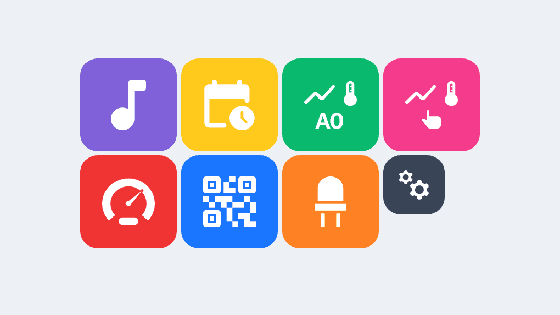
The General Reference showcases a comprehensive collection of functionalities, demonstrating the potential of smart displays when integrated with an Arduino. This project highlights various interaction methods, including LED control, graph simulation, pressure measurement, QR code text manipulation, volume adjustment, date and time configuration, and a settings screen.
How Does It Work?
The General Reference is a multifunctional solution featuring the following integrated demonstrations:
- LED Control:
- Individually turn on and off up to four LEDs.
- Toggle all LEDs simultaneously or set all to ON/OFF.
- Graph Simulation:
- Display dynamic curves, such as ECG or sine waves.
- Control graph behavior with a potentiometer in play, pause, and stop modes.
- Pressure Measurement:
- Gauge-style graph with a pointer displaying pressure values.
- Visual alarms based on received pressure values.
- Text and QR Code Manipulation:
- Receive text, invert it, and display it directly on the screen.
- Volume Adjustment:
- Graphical representation of volume using X and Y bars.
- Date and Time Adjustment:
- Calendar: Direct date adjustment on the display.
- Scrolling Picker: Intuitive interface for setting the time.
- Settings Screen:
- Brightness Adjustment: Control the display's backlight intensity.
- Buzzer Configuration:
- Set the time interval for the buzzer sound.
- Test button to hear the buzzer for the configured time.
- Save button to store the defined interval as default.
- Reset Button: Restarts the display.
- Display Information: Shows details like firmware version and other technical data.
Components and Materials
Hardware:
- Arduino UNO
- 4 LEDs
- 4 x 1kΩ Resistors
- 100kΩ Potentiometer
- Smart Display
- Jumper Wires
Software:
- UnicView Studio: To develop the graphical interface.
- Arduino IDE: To customize the microcontroller’s behavior.
How to Set Up the Project?
- Download the Files:
All source code and schematics are available in the official GitHub repository. - Configure the Display:
- Use UnicView Studio to upload the project to the display.
- The interface provides direct control over LEDs, graphs, text, and more.
- Set Up the Arduino:
- Open the code in the Arduino IDE, configure the serial port, and upload it to the Arduino UNO.
- Assemble the Circuit:
- Connect the LEDs, potentiometer, and other peripherals to the Arduino following the schematic.
Why Use This Reference?
This project is a powerful tool for learning, demonstrating, or developing solutions with smart displays. By integrating diverse functionalities into a single application, it provides a broad overview of what is possible when combining hardware and software in embedded projects.
Downloads and Resources
 English